Tools and Software
When planning a solar PV system there are free tools and apps that will help understand how to select your new PV system and how to maintain your existing Solar PV system.
Tools and Software
View Existing Solar PV Outputs-The free software provided by SolarEdge (a solar company) is very good . They allow customers to share how their solar PV system is performing in different parts of the world. One only needs to type in a location and if there are any installations near you they will show up. The SolarEdge link is here. Search for county locations rather than the town name.

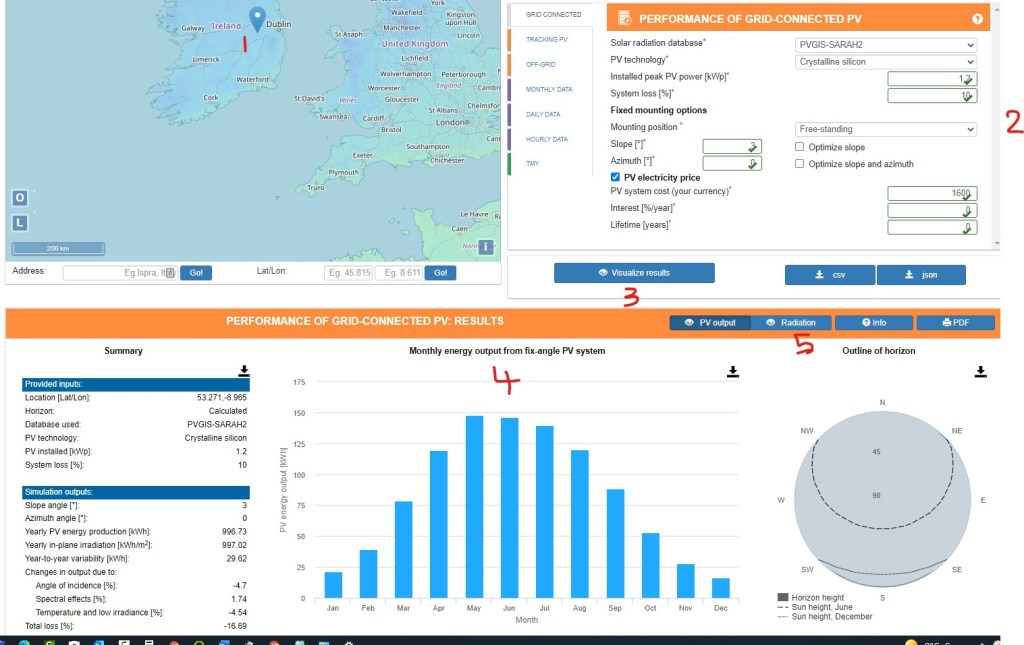
European Union (Photovoltaic Geographical Information System)
This tool allows one to see the expected yield of a PV system in different countries. One selects a location on the map first and then enters the details of your system or planned system. Previous weather data is used to model the results. If one uses the daily data option one can evaluate what would happen if one angled the Solar panel slope and the expected solar pv yield with the changes. One can keep the same setup for your site and pick different countries to see the changes.
The below image shows the steps to get you started ie 1,2, 3,4,5
This is the link to the web site European Union Solar PV
View the movement of the sun around your home or select your solar PV location.
This software will allow you to view the solar changes of the sun as it moves around your home or solar PV system over time. The app is called Sun Surveyor Lite. It is available in a free version or a paid version on both android and apple platforms. The free version works well.

Bubble Level
When calculating the slope of one’s roof the Bubble Level app is useful.
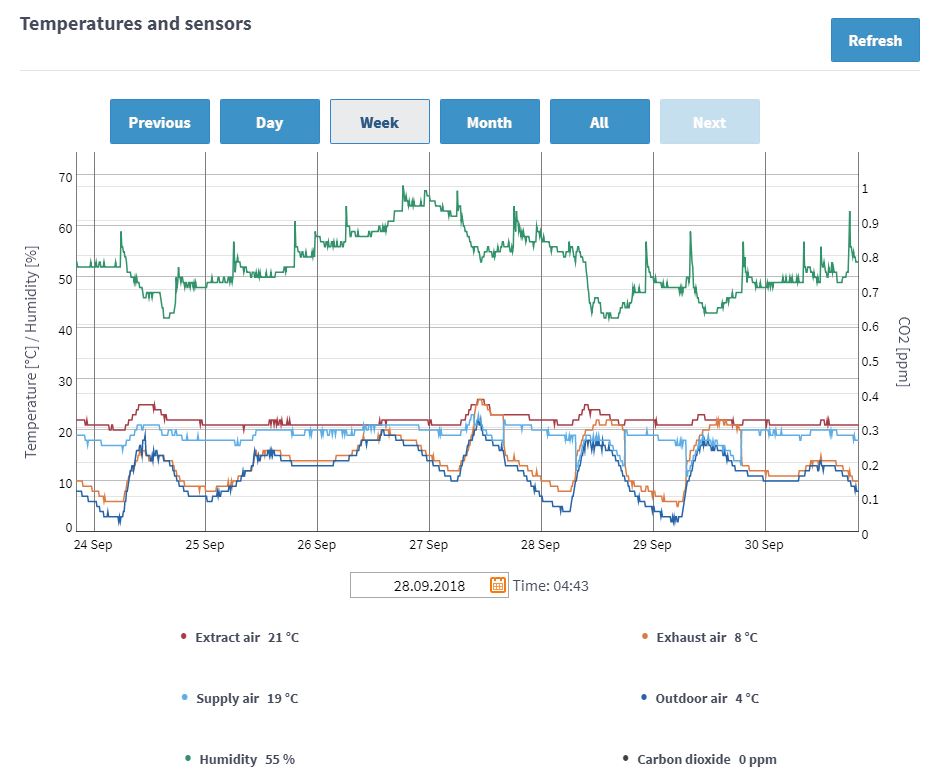
Check if your PV System is working correctly .
When one has a solar PV system -faults can occur. Some of these faults will not show on your solar PV app. Most PV systems installed do not have individual Solar panel management unless one requested optimisers or microinverters. What is required is a tool to check if your PV system is working efficiently and generating the correct output power.
When a solar PV system is installed the installer will usually carry out this test before completing the installation. This test ensures that the designed output power (in watts) matches the solar PV input power (w/m2).
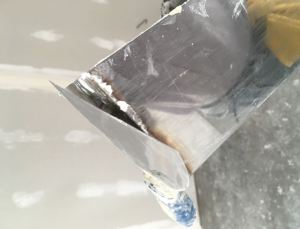
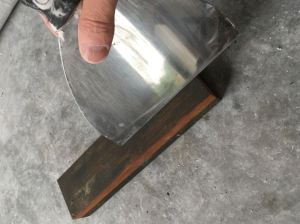
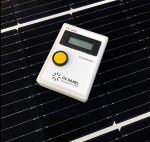
The first tool one needs is a pyranometer or also known as a solar irradiance meter or solar radiation meter. It measures the light that generates electricity within the solar panels-this is the approximately the wavelength from 300 to 1200 nanometers below. An affordable pyranometer can be seen here https://pvpanelinnovations.com/

This solar irradiance meter is calibrated in watts per m2 (w/m2). The light that one can see with ones eyes is between 400 and 700 nanometers. This means that solar panels can convert more light into energy than what the human eye can see. The majority of the heat one feels on your skin is the energy above 700nm and the solar panel can use this light/energy.
As mentioned before there are in principle 3 types of silicon used to make solar panels -mono crystaline, poly crystaline and CIS. Below is a side by side comparison of how the types of silicon use light energy shown from the above image.

If a solar panel is 20 % efficient at converting this light into electricity then the majority of the other energy ends up as heat. As stated before an increase in temperature negatively affects the output power of a solar panel. If one uses the online calculator app below and adjusts the temperature one can see the effect temperature has on the solar panel.
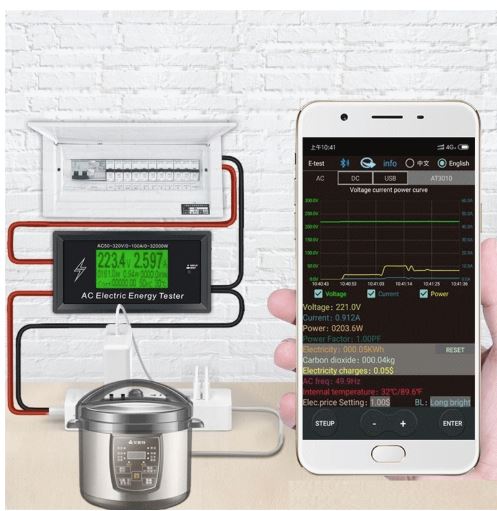
Convert Solar Irradiance (W/m2) into power (Watts)
When one has a solar pyranometer/irradiance meter it provides the data for the App.
This software converts the solar irradiance measurements (w/m2 -watts per meter square) into electric power (watts or kw/h). One can enter the size of your solar panel and the number of solar panels and the output power is calculated in watts) . Solar PV Irradiance converter.

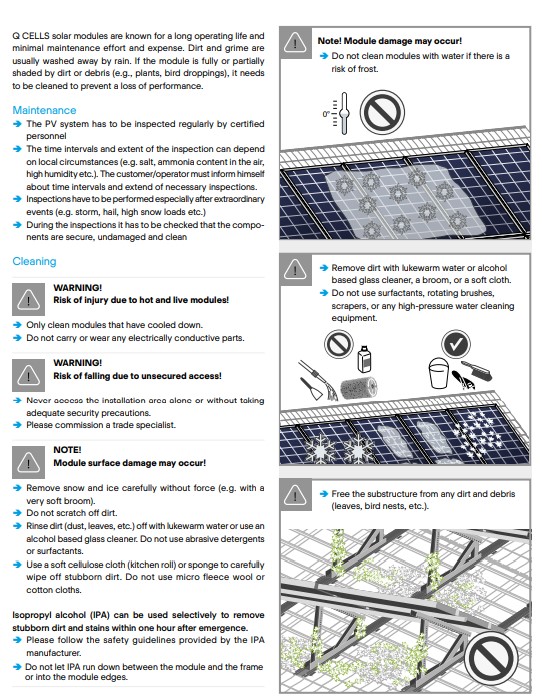
Cleaning/Maintaining Your Solar Panels.
There is a correct way to clean solar PV panels and there are risks. Below are the recommendations by the manufacturer Q CELLS. In summary-
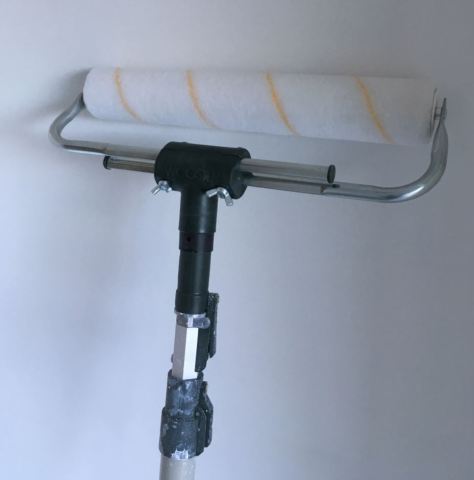
Solar PV Cleaning
- Do Not use a hose with water
- Do Not clean modules with water if there is a risk of frost
- Only clean the modules when they have cooled down
- Use kitchen roll for stubborn dirt and not fleece or cotton cloths.
- Do not use rotating brushes or power hoses.