Wall Battens
I have started preparing the internal walls for more insulation, air-tightness and the service cavity .
There appear to be no hard and fast rules on mounting the battens and counter battens . Below are the Gyproc guidlines:
“Horizontal application of plasterboard on walls is generally
recommended because it:
• Reduces joints by up to 25%.
• Provides a stronger wall.
• Reduces the possibility of unacceptable light reflections
around joints.
• Joints are at a more convenient height for finishing.
However, the orientation should be chosen so that – any
critical light falls along the recessed joints; the number of butt joints is minimised; a single sheet may be fixed vertically where it covers the whole wall. Nogging is not required behind recessed edge joints in horizontal applications. Partitioning fixed to steel framing in commercial applications is typically sheeted vertically. The lower edge of wall sheets is to be kept a minimum 6mm above the finished floor level. Ceiling sheets are to be installed with the long edge at right angles to the direction of the joists/main support members.”
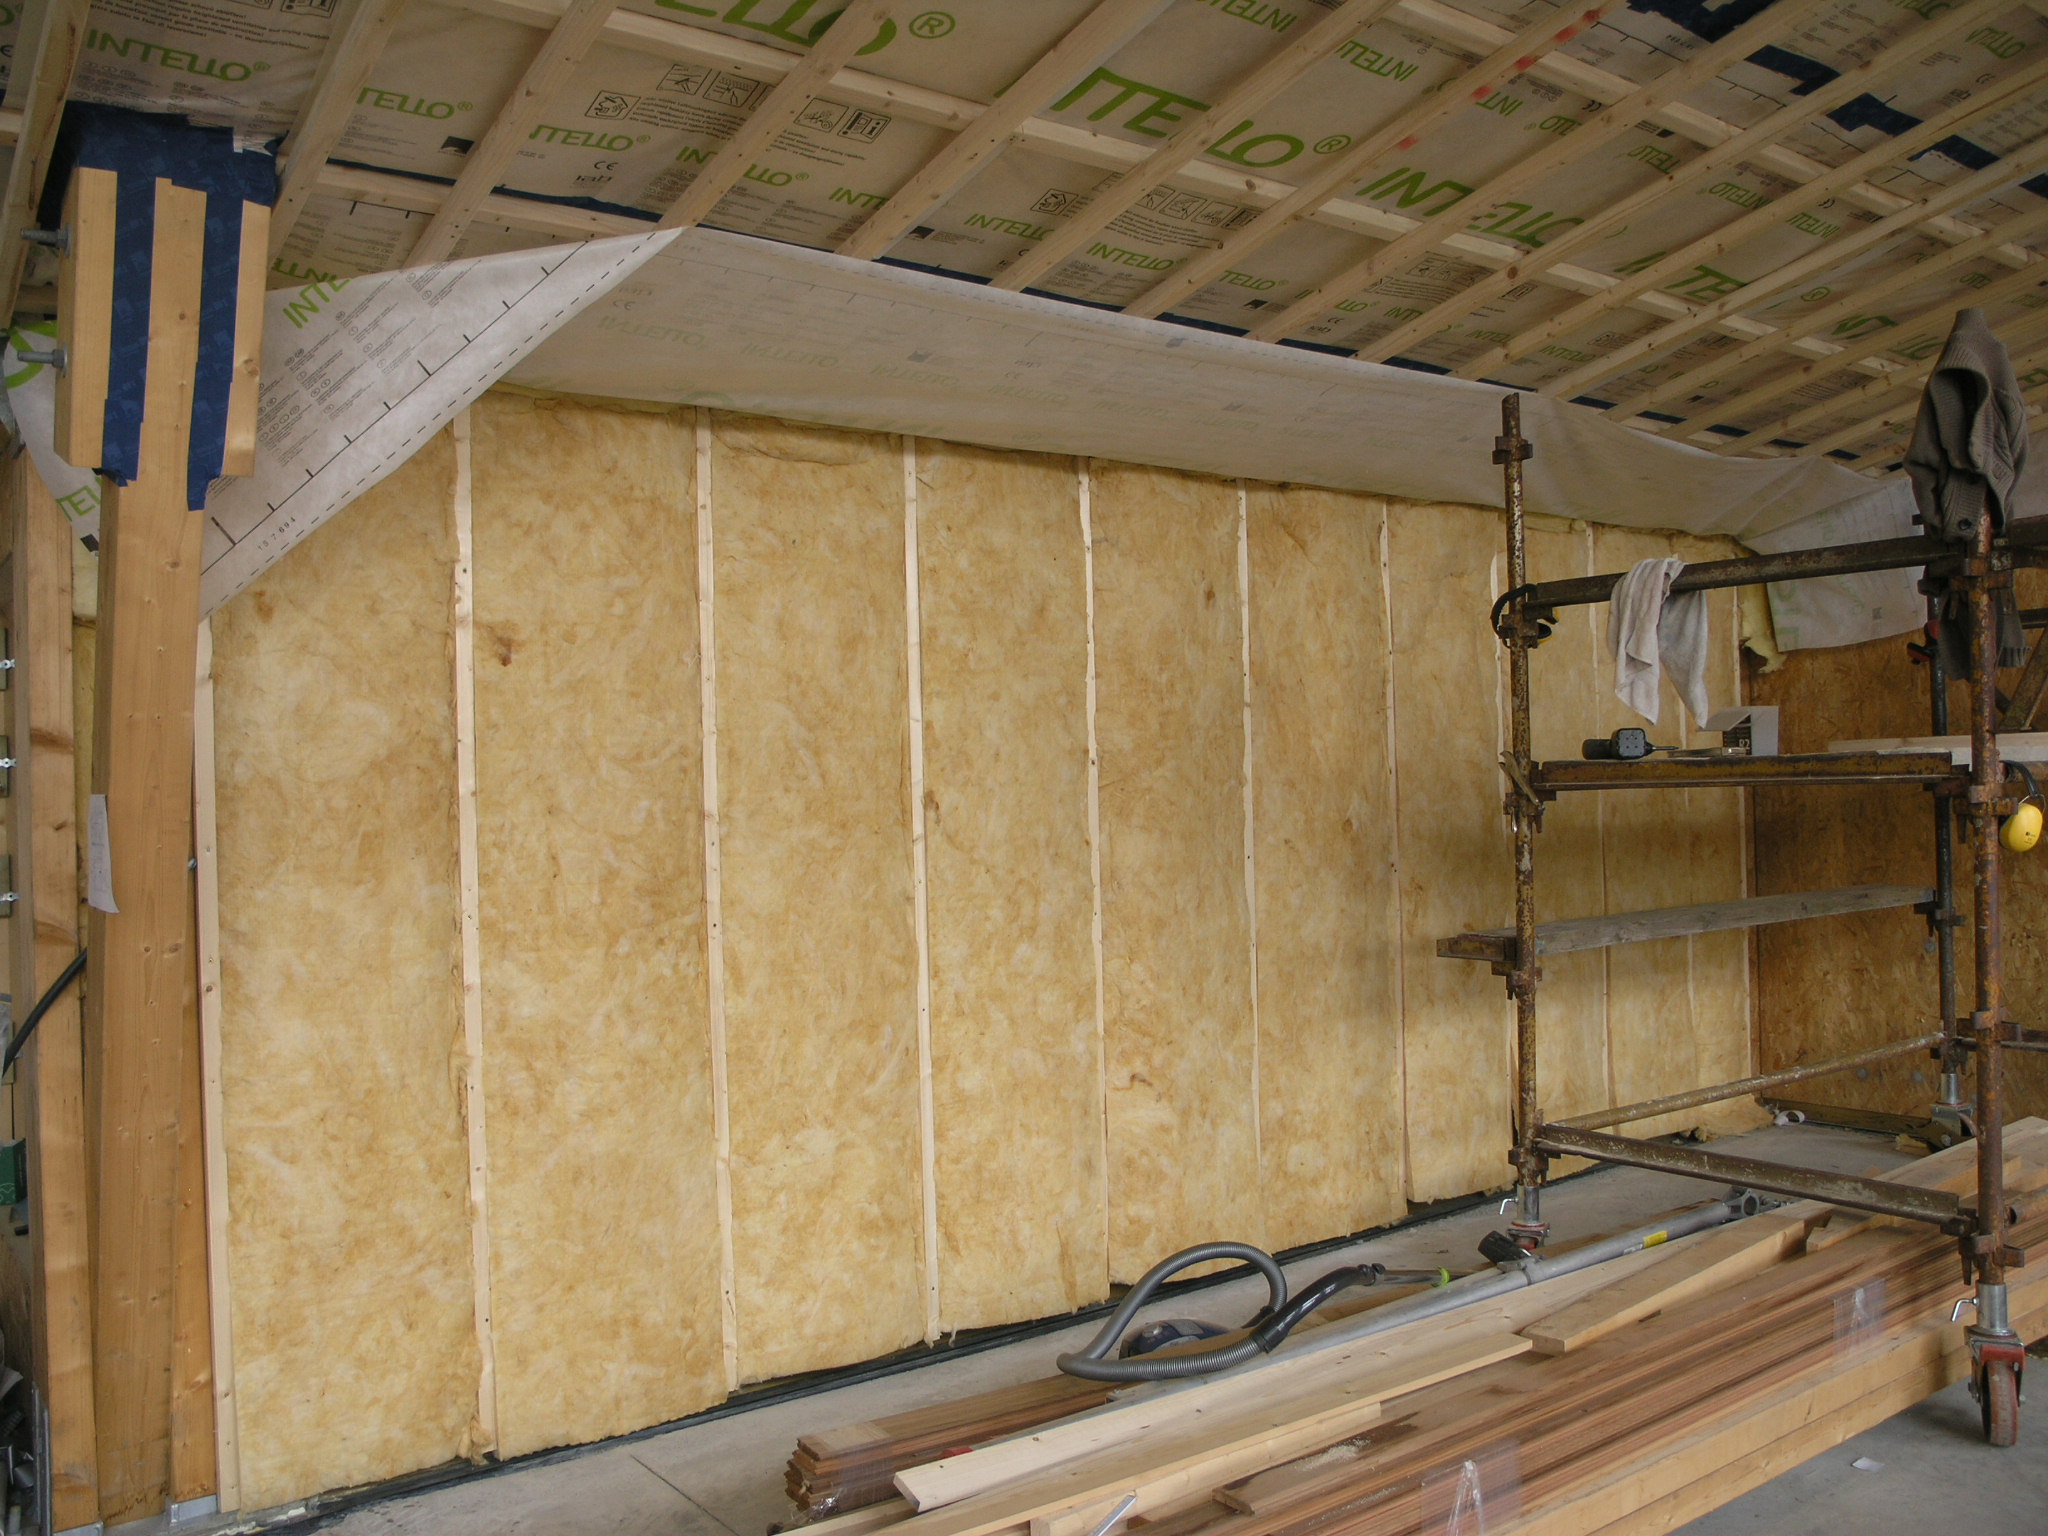
The important factor is batten spacing . A good spacing it apears is 400mm for the plaster board. I am installing the first row of battens vertically at 600 centres. These will carry the next row of battens for the plaster board at 400 centres. I am placing the final row of battens horizontally in order to facilitate wiring and services. Fixing the plasterboard with screws appears to be better than using nails (Nº6 Type ‘W’ for timber framing a different screw type is required for other systems.)
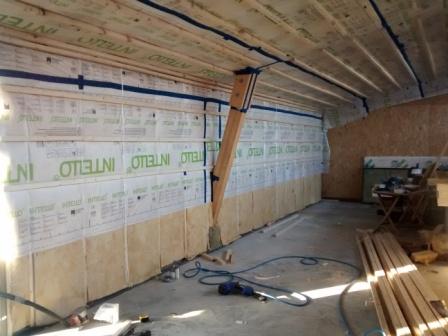
I used screws and serrated nails on the vertical battens. This layer of vertical battens will hold the 50mm metac insulation (see above and below). Next will be the airtight membrane followed by the horizontal battens. I will be placing 15 mm plaster board on the inside walls and ceiling and I am considering some other suitable board like a magnesium board (Mgo).
All the north facing walls will have cupboards/wardrobes placed in front of them. It allows me to practise knowing that they will not be seen again. I am also considering mounting the plaster board vertically on these walls as it will take one sheet exactly (2.4metre high).
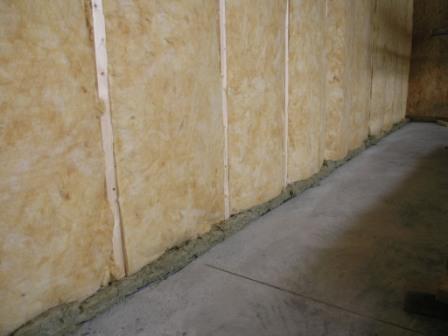
Rockwool at Floor Level to minimise thermal bridging
Service Cavity
A small length of the lower floor section in the kitchen will have a service route specifically for pipes and wiring behind the skirting board. (I want some way of accessing these in the future without taking the wall apart .)
Insulation at floor level
At the floor level where the sole plate sits on the structural ring beam I am placing rockwool in order to reduce the heat loss (thermal bridge). It appears that rockwool has superior fire resistance-I must do a test this week and see for myself.
 Wall Layers with Insulation
Above is a sketch of the wall build showing the basic components. For passive house certification I need to calculate the thermal bridge losses (linear heat loss) at this floor/wall junction. If I did not apply the rockwool insulation I would have significant heat losses and possibly condensation issues. I will calculate the thermal bridge losses using the free Therm software. It will show the real performance heat losses and condensation risks if any.
